Configure VibrationVIEW to Calibrate Piezoelectric Accelerometers
January 2, 2019
Back to: Calibrating a Piezoelectric Accelerometer in VibrationVIEW
Equipment Needed
-
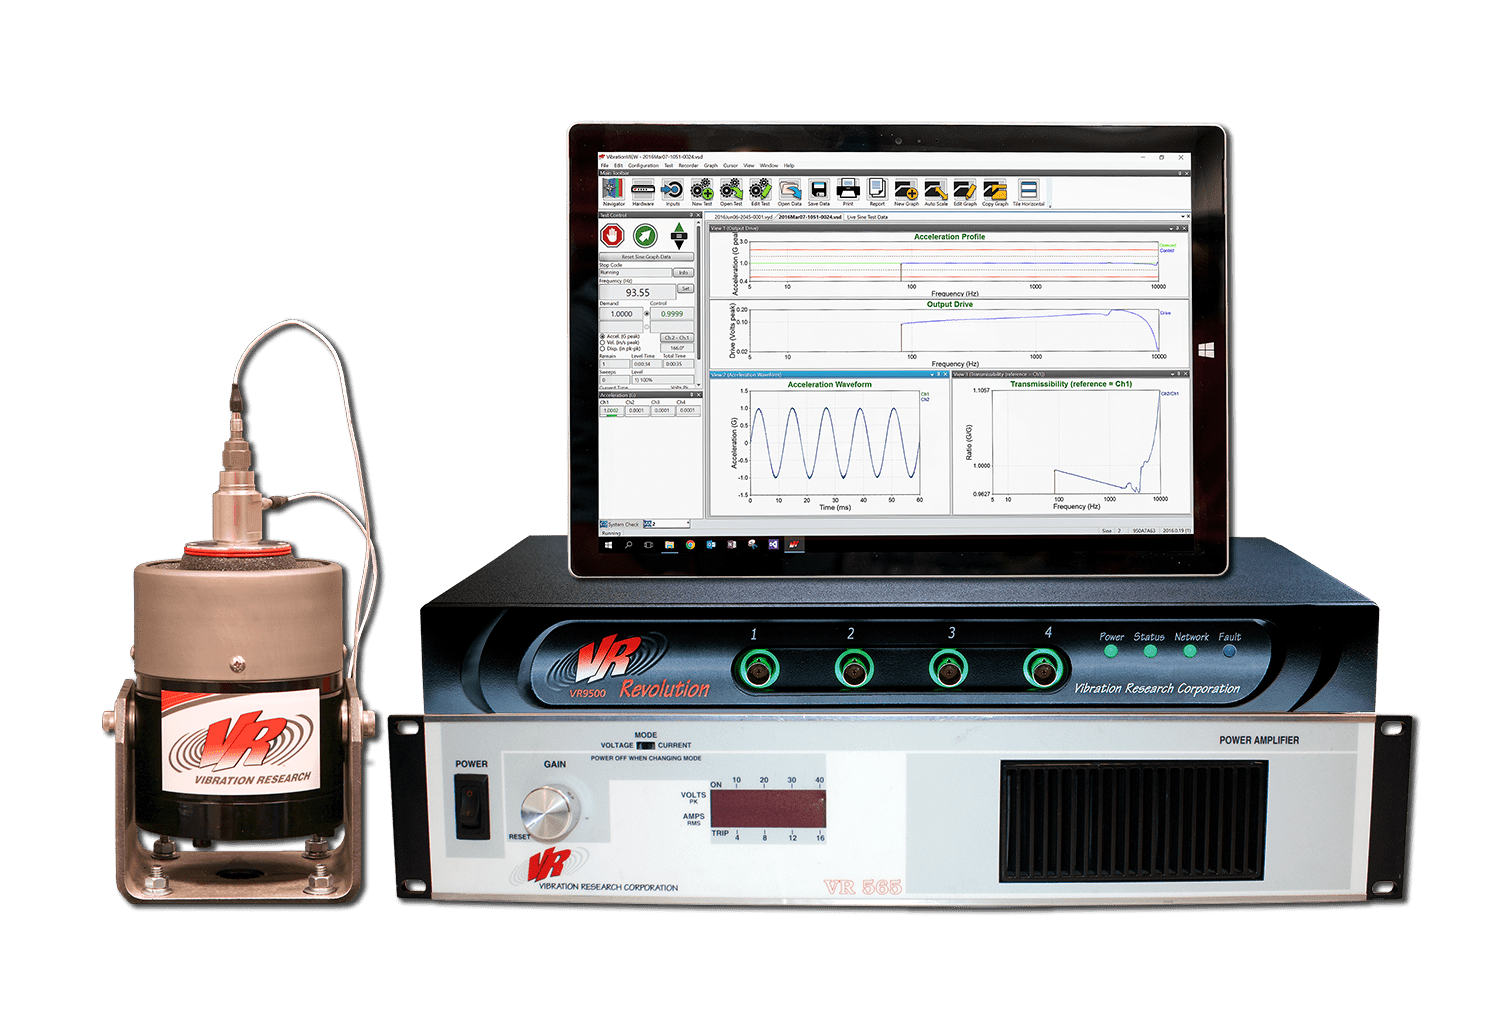
- VR9500 or VR10500 vibration controller
- Windows PC with VibrationVIEW Sine software and Accelerometer Calibration add-on package
- VR5200HF shaker and amplifier
- Reference device (REF) such as Dytran 3027B back-to-back accelerometer
- Piezoelectric accelerometer that requires calibration
- Cables
Set-Up
1. Connect and power the PC, controller, shaker, and amplifier.
2. Mount the DUT accelerometer to the REF in a back-to-back configuration.
Make sure to use a good mounting technique (see article: Accelerometer Mounting Tip Sheet.)
- Stud mount the REF to the shaker head
- Stud mount the DUT to the top of the REF
3. Make testing connections
- Connect the REF to Input Ch1
- Connect the DUT to Input Ch2
4. Configure VibrationVIEW
- Click Configuration > System Limits; select Vibration Research VR5200
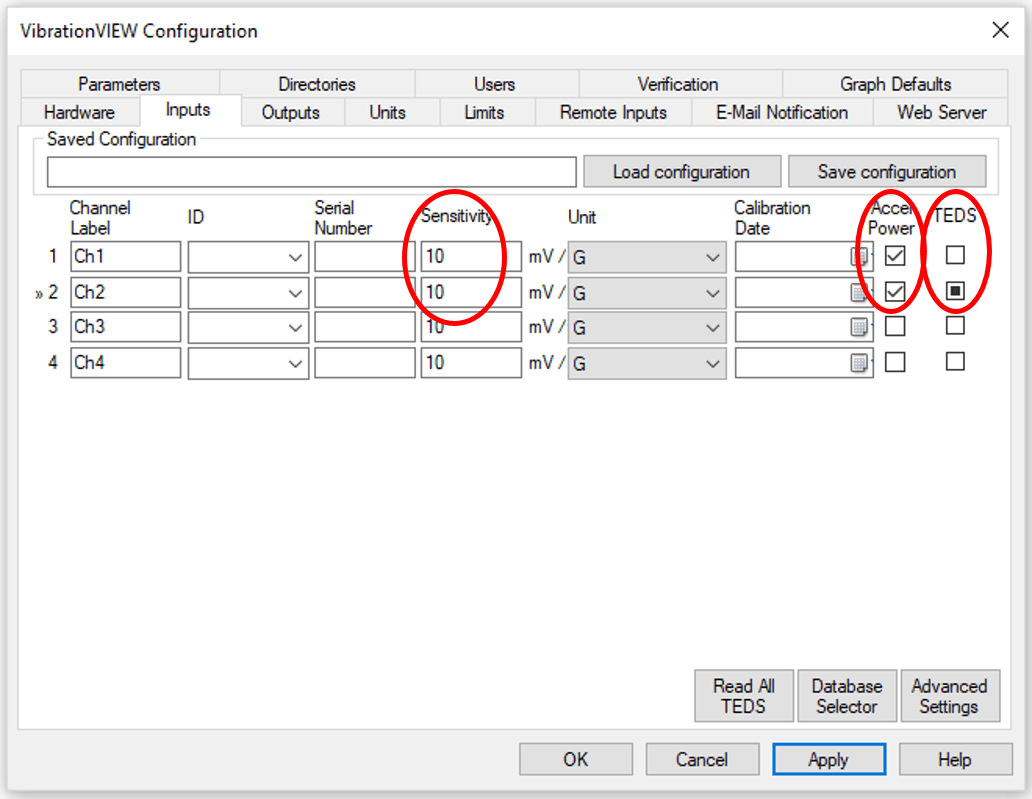
- Click the Inputs tab
- Select accelerometer power for Ch 1 and Ch 2
- Enter the proper Sensitivity for Ch 1 and Ch 2
- If the DUT supports TEDS, check the TEDS box
-
- Click OK
5. Create the calibration test profile for Ch2
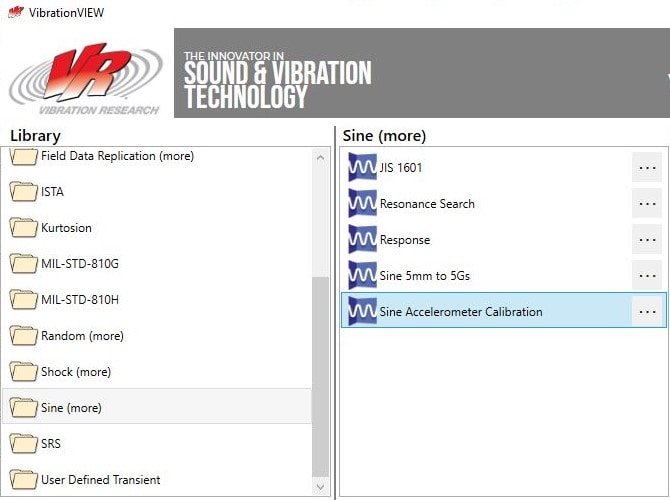
- Click the Navigator button
- Click the Sine library > Sine Accelerometer Calibration
-
- Click OK
- Enter a file name for the Sine test profile
6. Run the Test
- Click the Run button

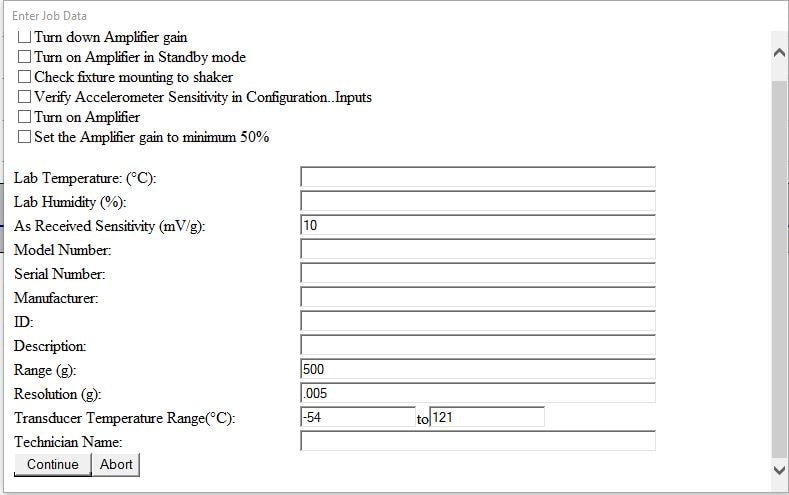
- Fill in the test information on the HTML form
- Click Continue. The calibration of the DUT accelerometer will run at 100Hz. After the calibration is complete, the test will verify the accuracy across a full operating range of frequencies.
7. After the Test Completes
- Click Save New Values and VibrationVIEW will update the TEDS information stored on the DUT accelerometer
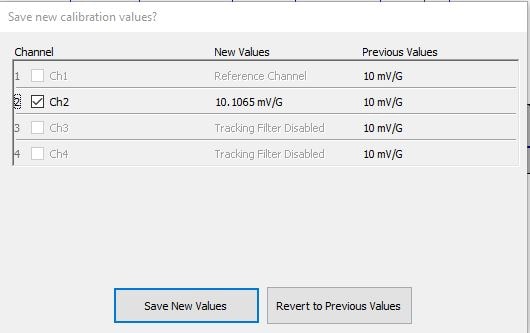
- VibrationVIEW will generate an Accelerometer Calibration report as an Excel file

